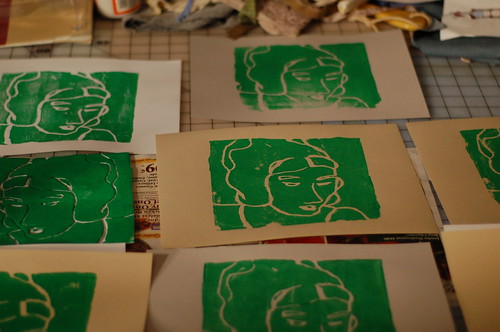
I made these prints using an extremely low-tech and easy process of use-what-you-have and fly-by-the-seat-of-your-pants.
Specifically. . .
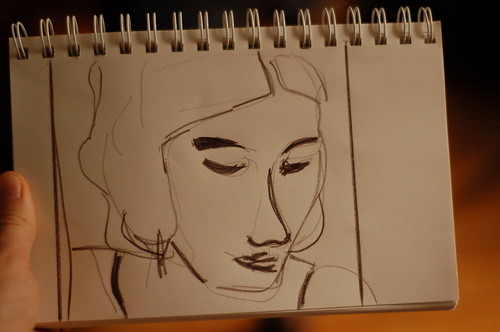
1.) sketch a design
2.) get take-out from your favorite restaurant, or, if you're like me, eat at your favorite restaurant and stuff yourself until you can't eat anymore, then take the rest home. If your favorite restaurant still uses styrofoam take-out boxes, you're in luck.
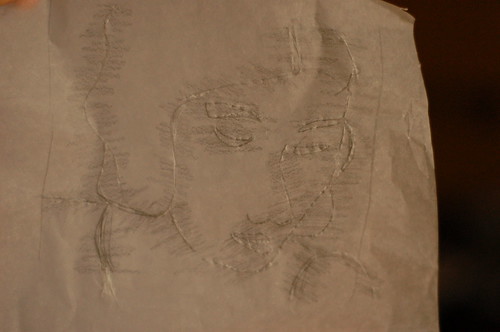
3.)cut out a piece from the styrofoam take-out box. Trace your design onto tracing paper, and transfer it to the styrofoam using a pencil rubbing. If you're adventuresome, draw your design directly onto the styrofoam.
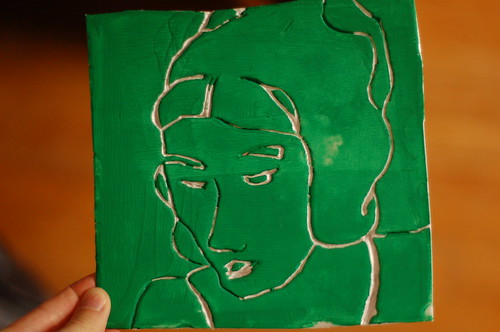
4.) Use a pointy, but not too sharp object to impress your design into the styrofoam (I used a knitting needle). Voila, instant print block!
5.) Ink the block. Using a brayer
V. important: keep cats away from inked block
6.) Place paper over face-up print block on flat surface. Smooth paper onto print block using a spoon or a cylindrical object. I used my Mod Podge jar.
V. important: keep cats away from cylindrical object
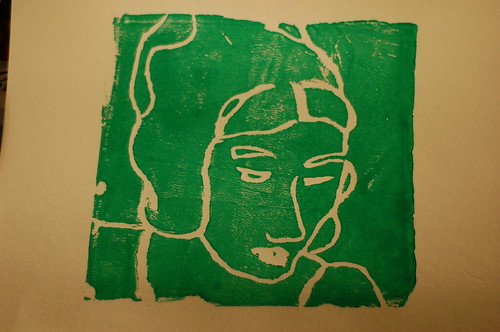
7.) Peel off paper, lay out to dry. Repeat from step 5.
V. important: keep cats away from drying prints
8.)Enjoy!
Somewhat important: keep cats from enjoying prints
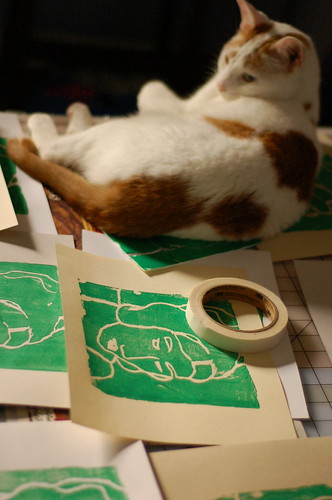
P.S. one of these prints is on its way to the 5x7 art swap (sans cat).
2 comments:
Very neat process!
I love this print -- such soft elegance from a take-out container!
Post a Comment